If you ever considered becoming a demonstrator for Stampin' Up! , one of the best reasons is being able to attend exclusive events such as Stamp Camp. (click here to
Join my team or
email me for more details)
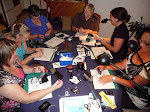
Last weekend, a group of over 50 demonstrators from the Creative Inkers team went to Rotorua for a weekend of fun, inspiration and frivolity. It is always fun to catch up with old friends while meeting new friends and putting faces to names. We always have a great time, eat lots (great meals provided plus yummies we all took as well), learn new ideas, do a lot of crafting, and have a lot of laughs.
This year I taught the "Birthday Suite" (pages 10-13 of the Occasions catalogue.) Looks like just a few ladies watching but all 50 plus demonstrators were surrounding me.
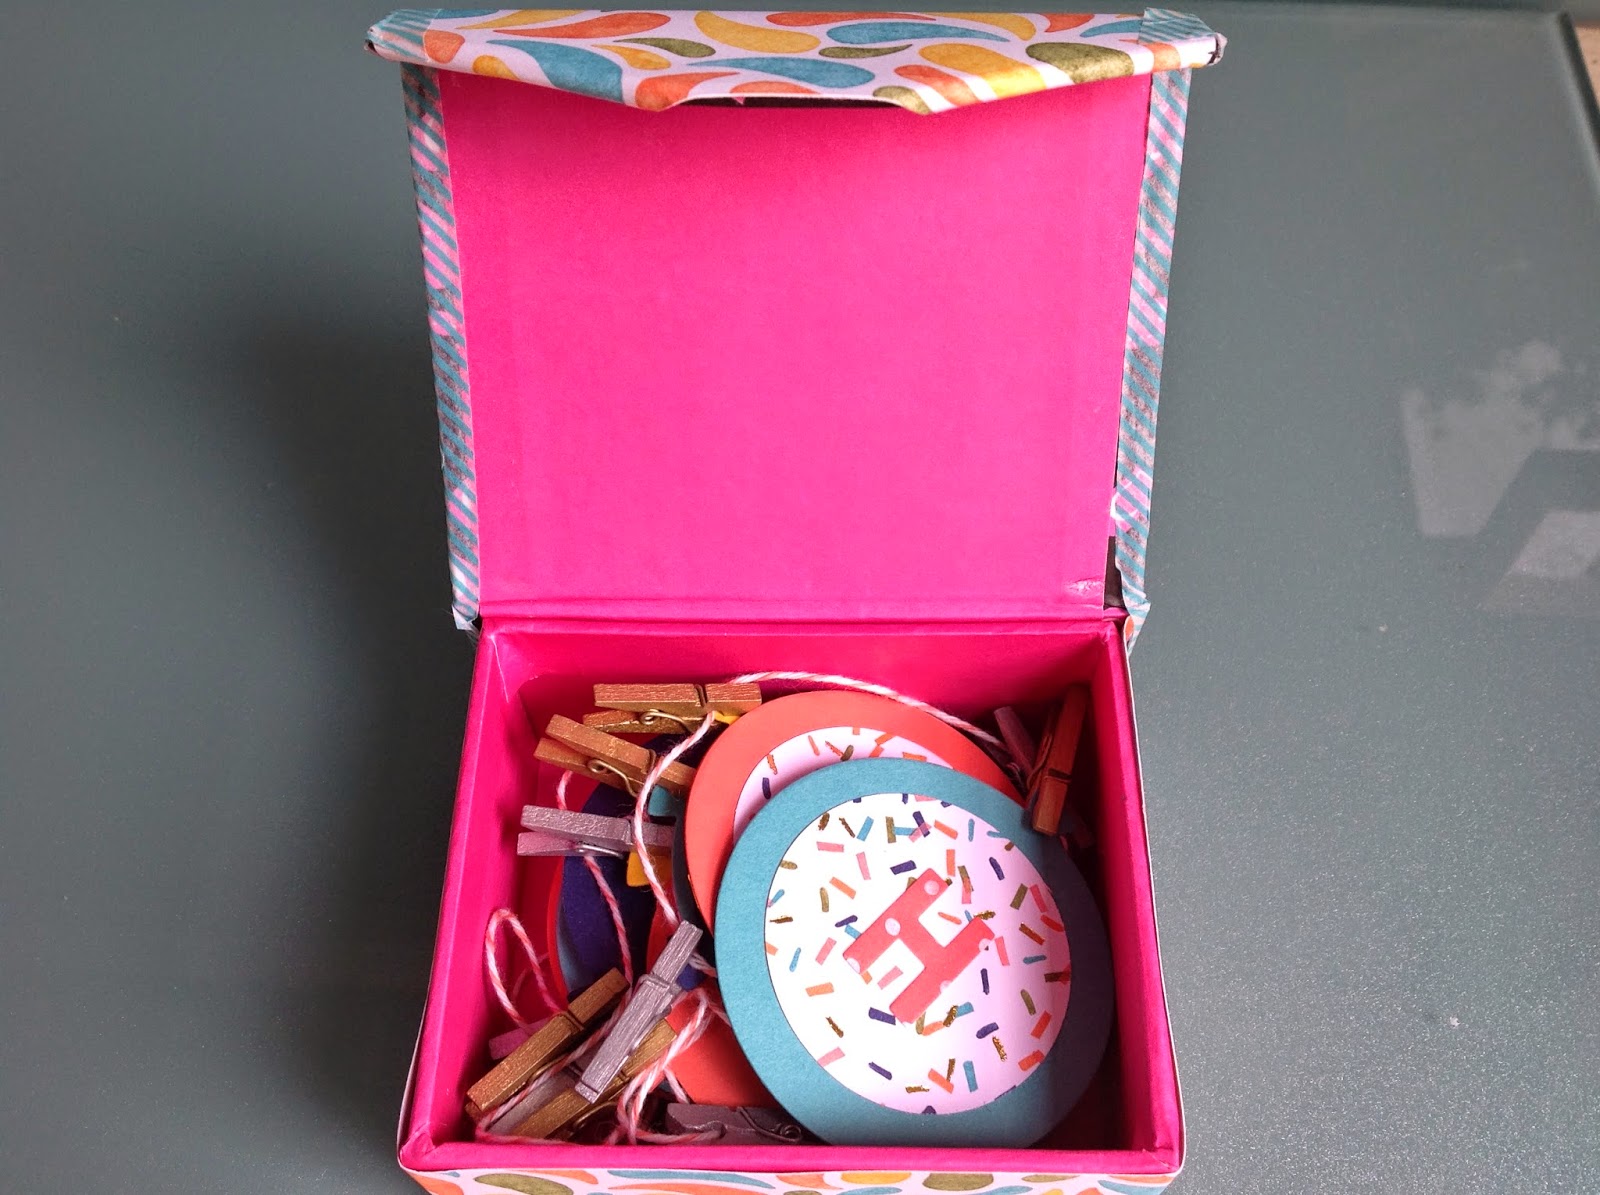
This was me unloading all my projects that I had made with the suite. ( I made several projects but only taught 2)
This is one of the projects I made. I am looking back over my shoulder as I show those on the stage behind me. Very big "THANK YOU" to my good friend Kelly for the idea and her help to complete it.
This is a glass vase marked off in sections made by cutting thin strips of the washi sheets then sticking them at regular intervals down the vase.the little stars are numbered at the intervals from 1-18. You would fill the vase/candle holder with wax melts to make a candle and give it as a gift to someone who has just had a baby. The idea is that on the first birthday you burn the candle to 1 (for 1 year old) then each year you burn it down to the next number etc and it becaome a family tradition until the child is Eighteen. Cool idea eh? I have stamped a sentiment on cardstock and attached it between the glass and the decorations so that the word "celebrate" is recvealed as the candle burns down.
Come back tomorrow for more projects:)