»
Showing posts with label Balloon Bash. Show all posts

Sunday, March 1, 2015

Ballon Bash Cut Out Card

As you will have gathered (if you have read previous posts), I taught at a last weekend's Creative Inkers Stamp Camp. I have shared already lots of the projects I made to showcase the Birthday Suite from the current Occasions Mini Catalogue. But now it's time to reveal the project I taught.

I wanted to design something that was a bit different to anything I had seen done with this set to date and to have one or two tips I could share with my fellow demonstrators.

this is the card I designed;

I showed then how ytou could Partially die cut the Balloonm shapes using the circle tag die from the Curvy Keepsake Box thinlits (there is also an oval tag that you could use with the oval shaped balloon). The trick is to make sure your top cutting plate partially covers the balloon to be die cut or elae the whole ablloon will pop out.
The little stars were punched using the Confetti Stars Punch (pg 45 of the mini)

Then I wanted to make a special envelope for the card. I thought of using the Mini Treat Bag but it was too small to fit a normal sized card. I then set about designing a way to extend the Mini Treat Bag to fit the card.

This is what I came up with;
Check back tomorrow for the instructions on how to extend the Mini Treat Bag.


Friday, February 27, 2015

Balloon Bash projects

If you read yesterday's post you will be (hopefully) eagerly waiting to see more Birthday Suite projects I made for Stamp Camp.

This is a litter bin for scraps when you have a workshop or just creating on your own. I covered a yoghurt container with Birthday Bash DSP. The Fast Fuse adhesive runner worked super well for this. The trim and letters were made with the new Washi sheets.
My name tag. The butterfly was the 2nd of the dies from Butterflies Thinlits (pg 26 of the Occasions mini) cut from the aluminium you get as a seal on top of large milo/coffee tins. I coloured my rhinestones with a Calypso Coral Blendabilities alcohol marker.
A little box with a bow made from the Bow Builder punch(pg 13 of the OccasionsMini and washi sheets. I suspended some tiny stars ( Confetti star punch pg 45) between two pieces of clear sticky tape for the little window.
 Another box I covered in Birthday bash DSP and trimmed with the washi sheets. With a bow made from the washi sheets also.

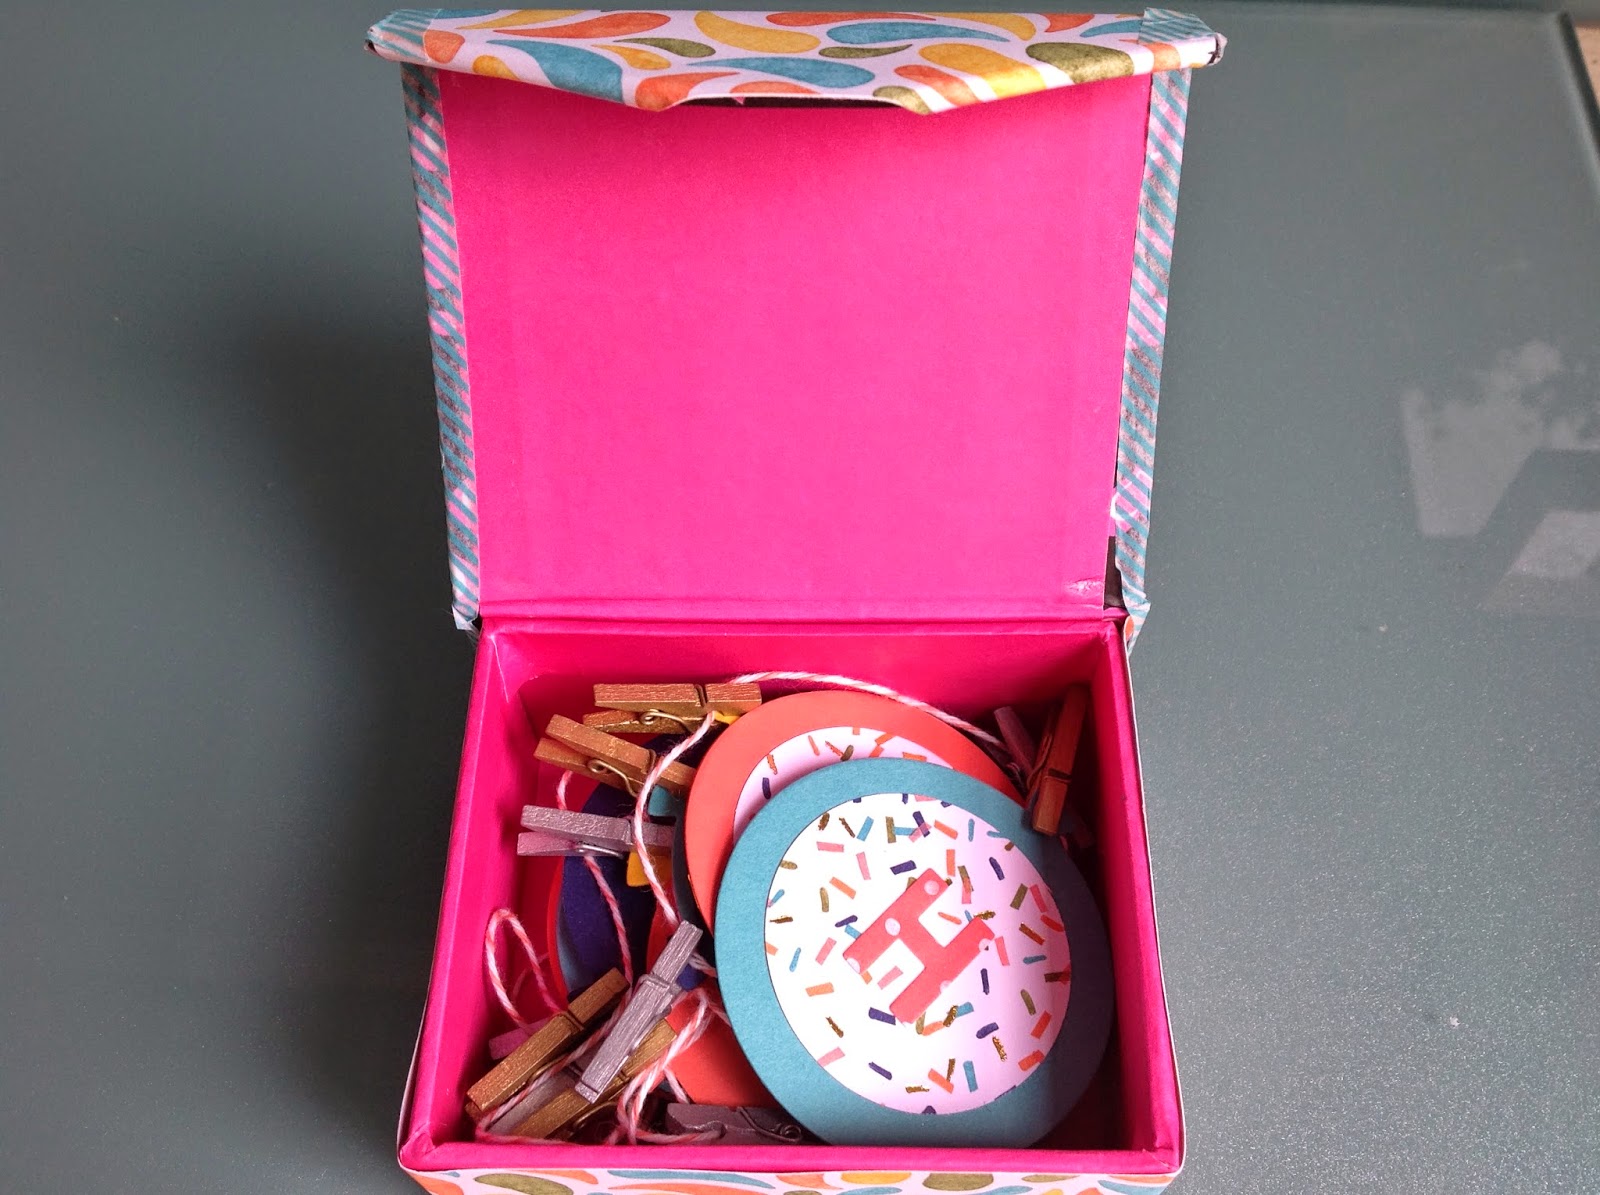
Inside the box I have a Happy Birthday banner I made with the Birthday Bash DSP punched with the 1 1/4" circle punch and the Balloon Framelits Dies (pg11 of the Occasions Mini). The letters were dies cut from the same DSP pack and the balloons were attached to Calypso Coral Bakers Twine with the Mini Metallic Clothespins (pg 209 of the main cattie). A little tip I shared was to press an adhesive sheet (pg 204 of main cattie) to the back of the DSP before die cutting then you can just peel the letters off and stick them straight down onto your project without the need for messy glues.


Come back tomorrow for more Stamp Camp projects:)


Thursday, February 26, 2015

Stamp Camp


If you ever considered becoming a demonstrator for Stampin' Up! , one of the best reasons is being able to attend exclusive events such as Stamp Camp. (click here to Join my team or email me for more details)

Last weekend, a group of over 50  demonstrators from the Creative Inkers team went to Rotorua for a weekend of fun, inspiration and frivolity. It is always fun to catch up with old friends while meeting new friends and putting faces to names. We always have a great time, eat lots (great meals provided plus  yummies we all took as well), learn new ideas, do a lot of crafting, and have a lot of laughs.

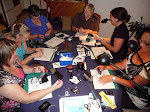
This year I taught the "Birthday Suite" (pages 10-13 of the Occasions catalogue.) Looks like just a few ladies watching but all 50 plus demonstrators were surrounding me.
This was me unloading all my projects that I had made with the suite. ( I made several projects but only taught 2)


 This is one of the projects I made. I am looking back over my shoulder as I show those on the stage behind me. Very big "THANK YOU" to my good friend Kelly for the idea and her help to complete it.

This is a glass vase marked off in sections made by cutting thin strips of the washi sheets then sticking them at regular intervals down the vase.the little stars are numbered at the intervals from 1-18. You would fill the vase/candle holder with wax melts to make a candle and give it as a gift to someone who has just had a baby. The idea is that on the first birthday you burn the candle to 1 (for 1 year old) then each year you burn it down to the next number etc and it becaome a family tradition until the child is Eighteen. Cool idea eh? I have stamped a sentiment on cardstock and attached it between the glass and the decorations so that the word "celebrate" is recvealed as the candle burns down.

Come back tomorrow for more projects:)